What is Resend?
Resend is an email API built for developers. It focuses on high deliverability, ease of integration, and a clean developer experience for sending transactional and marketing emails.Step-by-step tutorial
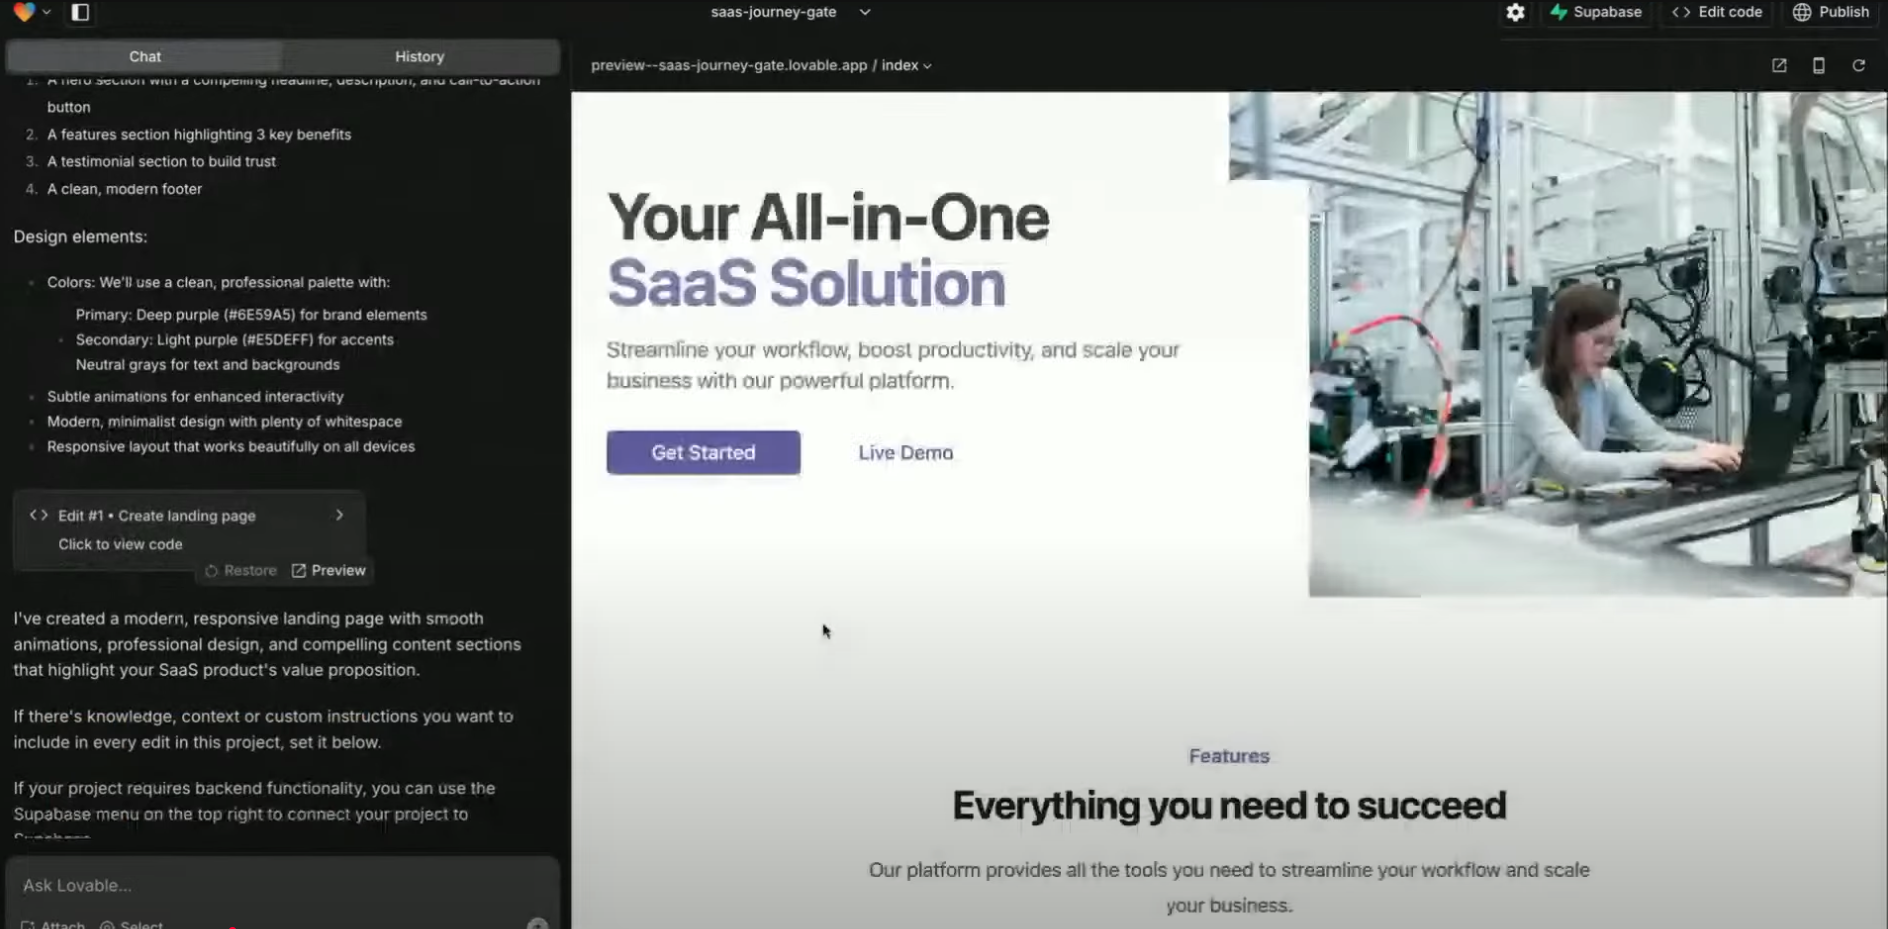
- Lovable: to generate the front end and backend logic.
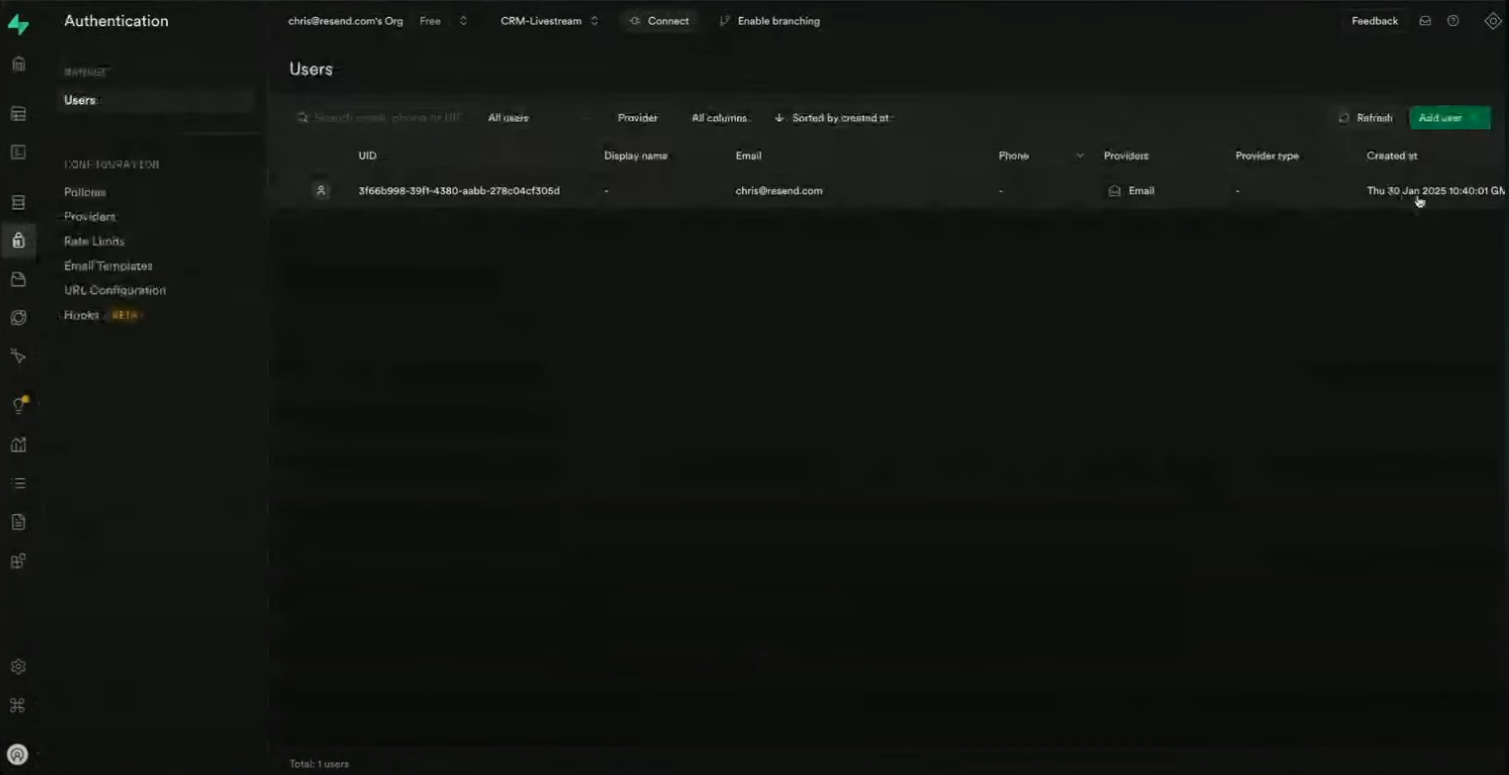
- Supabase: for secure data storage and authentication.
- Resend: to automate and track transactional + marketing emails.
Create a Landing Page with a Contact Form
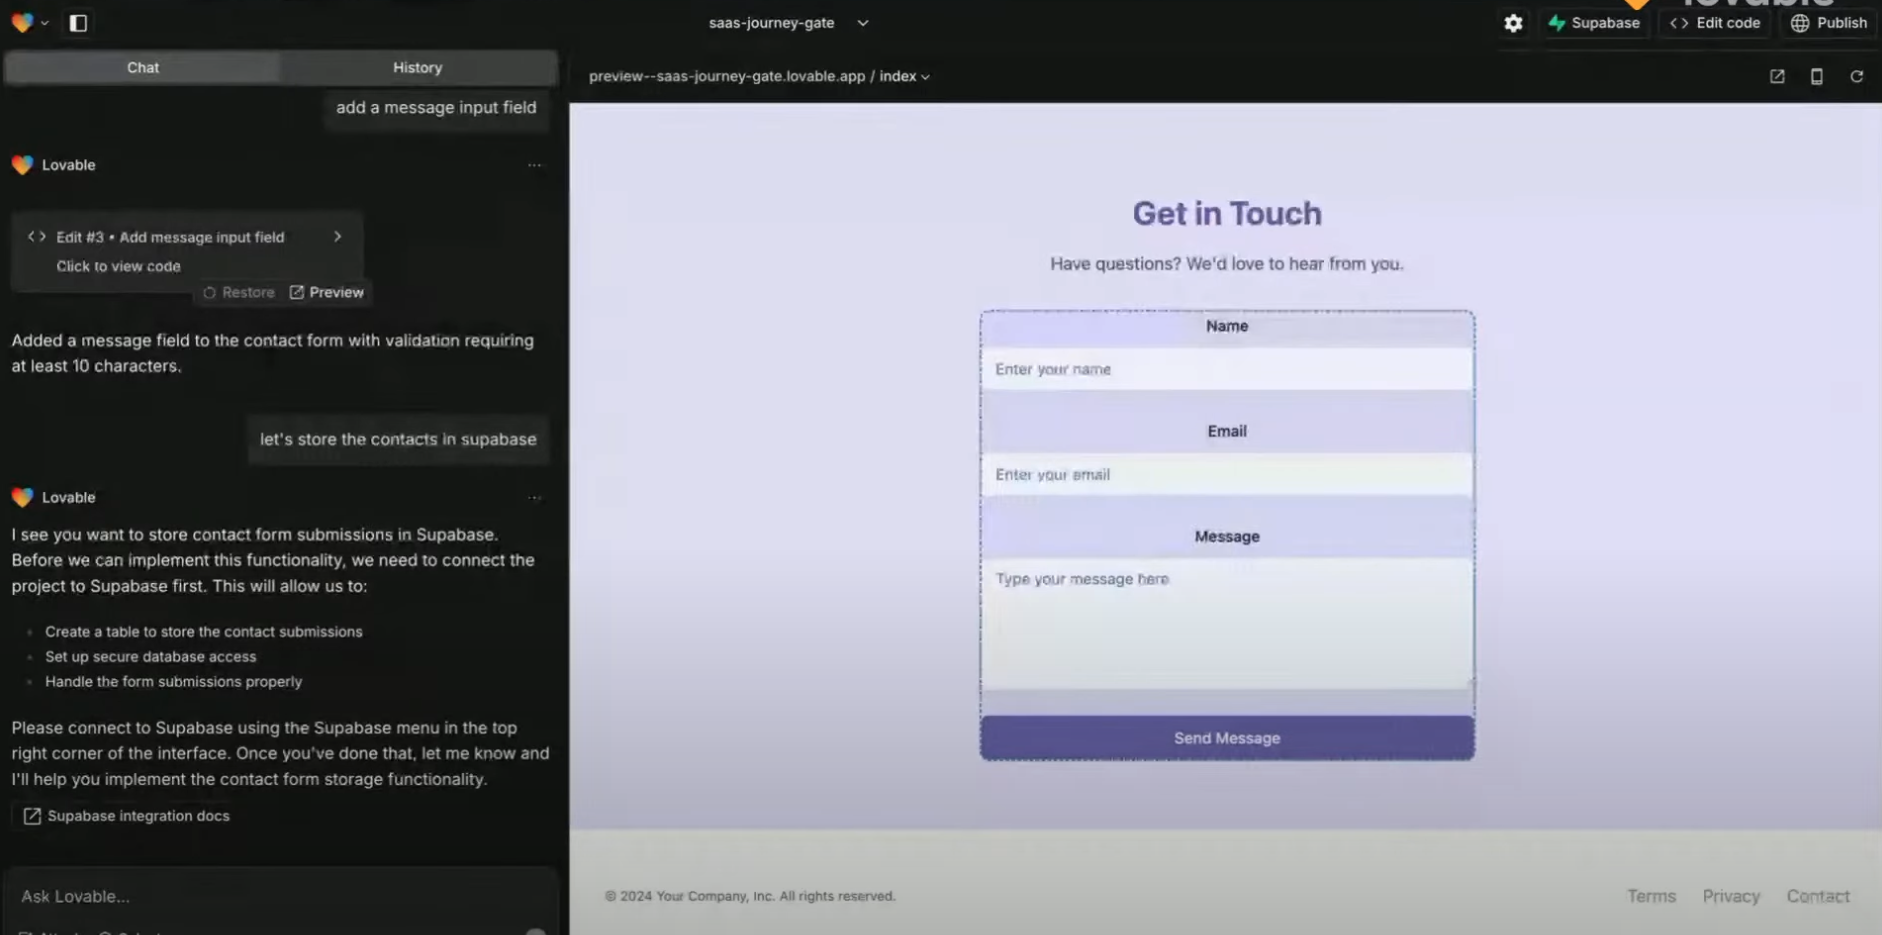
Store Form Submissions in Supabase
Create a `contacts` table with:
id: UUID, primary keyname: textemail: textmessage: textcreated_at: timestamp
Send Confirmation Emails via Resend
Sign up at Resend
- You’ll be asked to update your DNS records (TXT, MX).
- Use subdomains like
updates.domain.comto manage email reputation better.
Optional: React Email
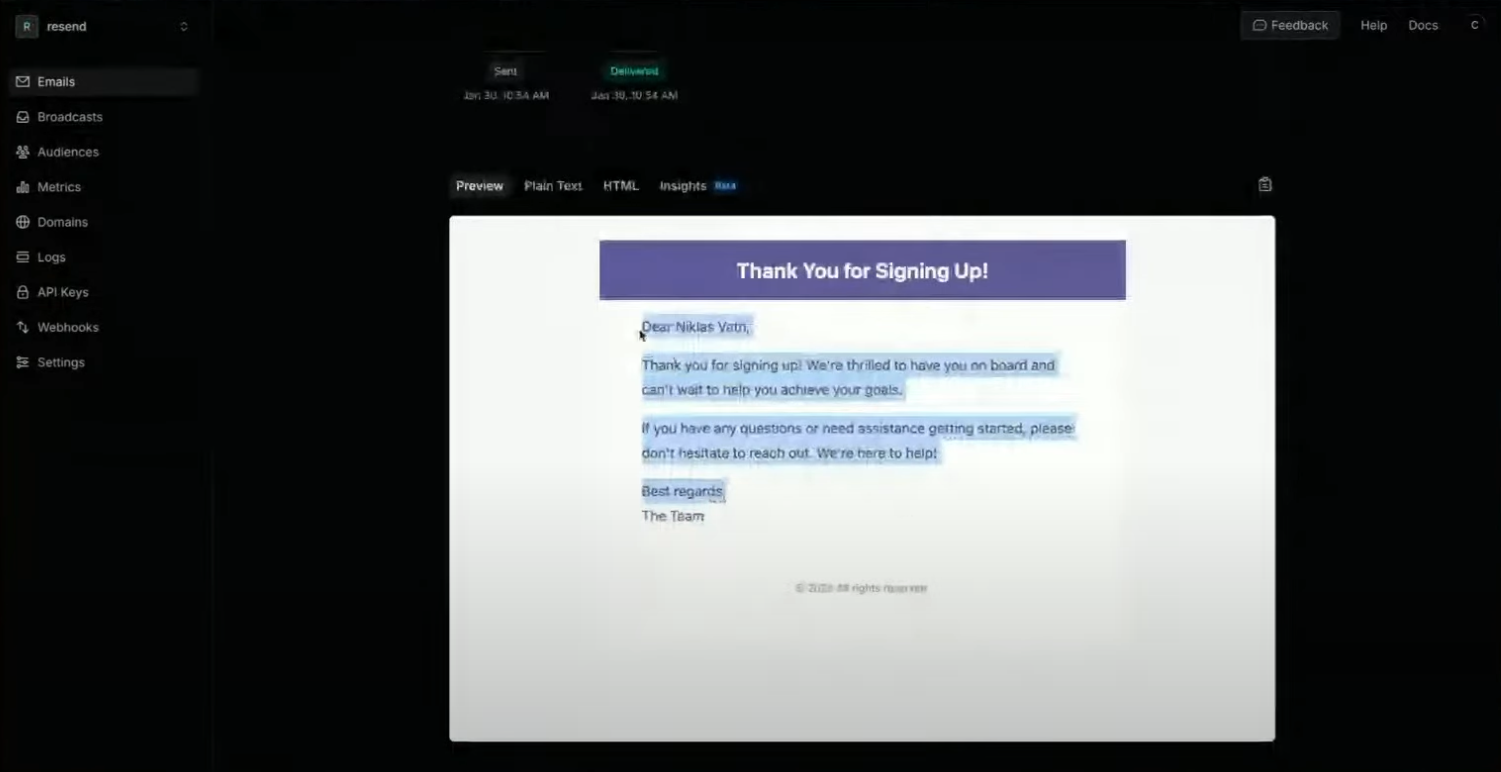
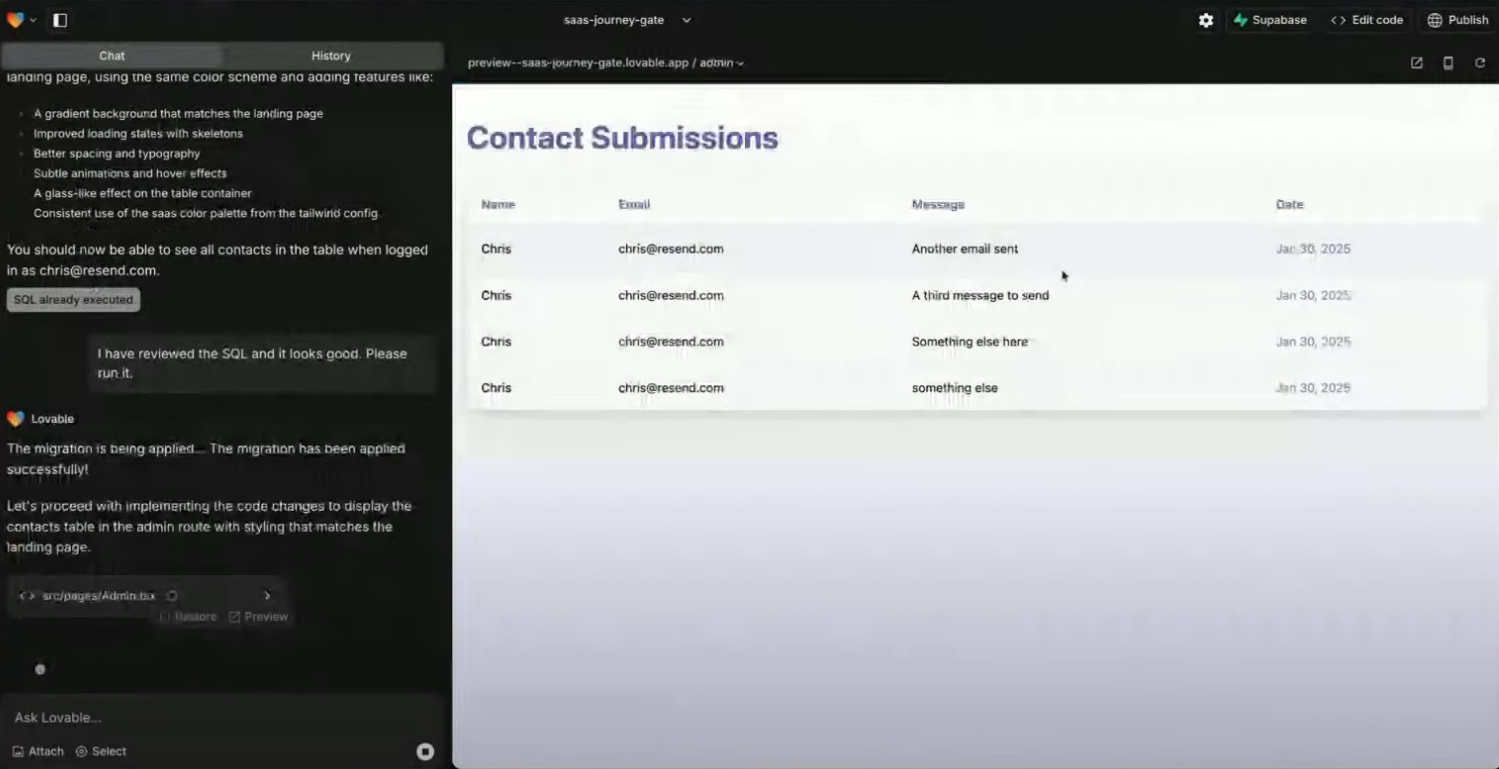
Build a Secure Admin Dashboard
Full contact detail
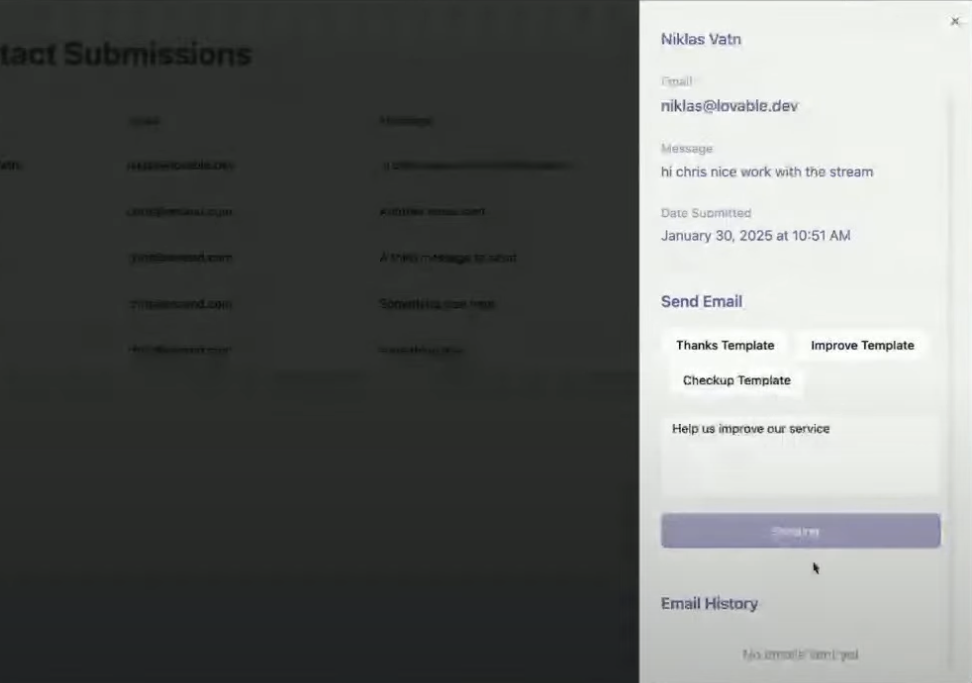
Enable Custom Email Replies from Admin
Contact detail pane
Add a Newsletter Subscription Form
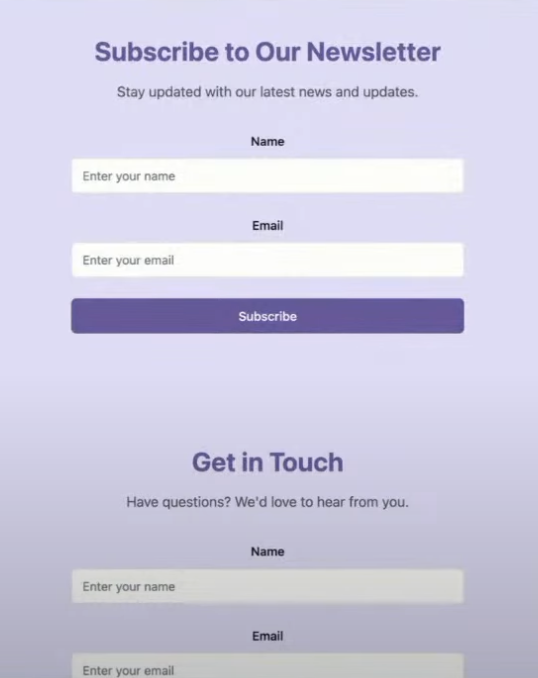
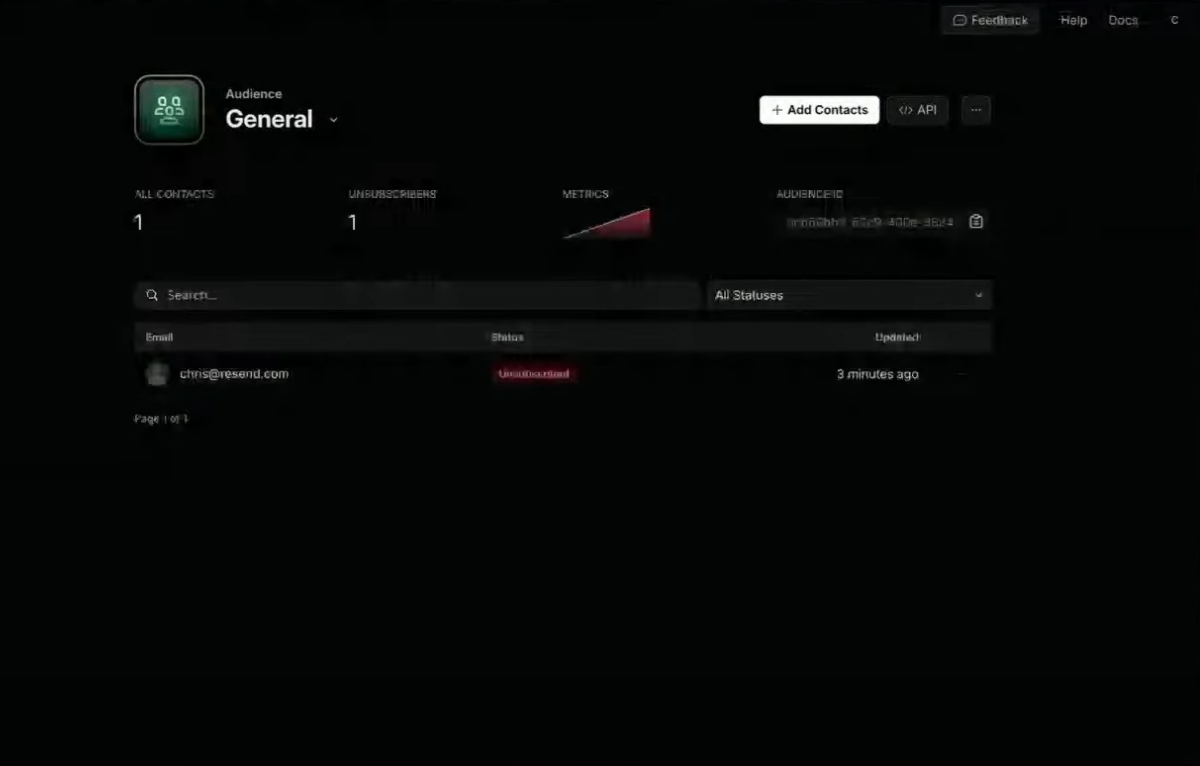
Resend contact
- Create a Resend contact via the API
- (Optional) Store the contact locally in Supabase as well
Design
- Built-in unsubscribe logic
- Performance insights (open rates, delivery status)
BONUS: Connecting Resend to Supabase Auth
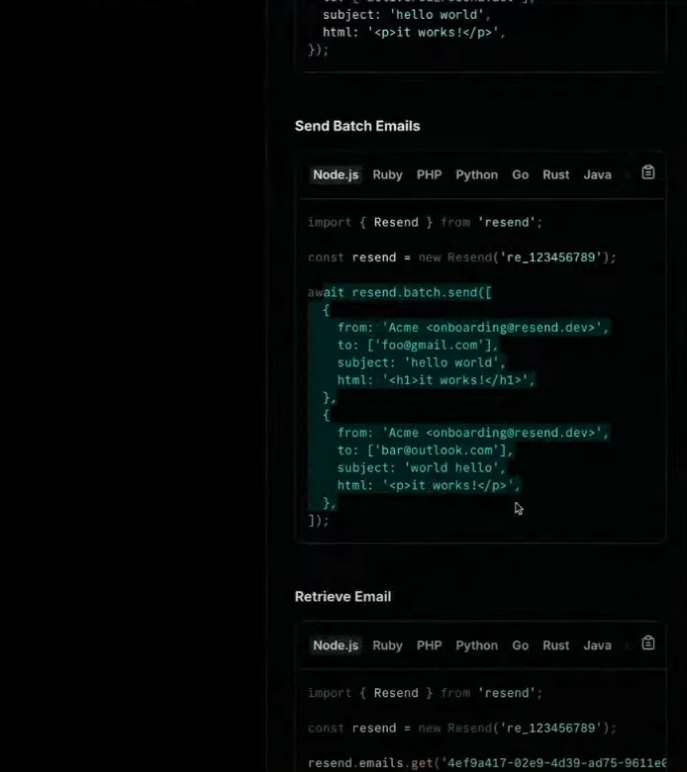
Resend supabase
Final Touches & Best Practices
- Error Handling: Lovable might show build errors that are false positives. Always test your functionality live.
- Reverting with Supabase: If reverting code in Lovable, remember to manually delete associated Supabase policies or migrations—they’re not rolled back automatically.
- Deliverability Tips:
- Use subdomains to isolate reputation.
- Always include a plain text version of your email.
- Monitor email performance with Resend’s insights dashboard.
Want to go further?
- Add support for scheduled emails via Supabase cron jobs
- Build automation flows to trigger emails based on lead stages
- Style your UI for better brand trust and conversion
Resend integration FAQ
What is Resend?
What is Resend?
Do I need a paid Resend plan to follow this tutorial?
Do I need a paid Resend plan to follow this tutorial?
How do I verify a domain in Resend?
How do I verify a domain in Resend?
Why are my Resend emails going to spam?
Why are my Resend emails going to spam?
- You haven’t verified your domain
- Your email lacks a plain-text version
- You’re sending from a generic sender like
[email protected] - You’re not following best practices (e.g., missing unsubscribe links in marketing emails)
Can I customize the design of the emails I send?
Can I customize the design of the emails I send?
Does Resend support marketing emails or only transactional?
Does Resend support marketing emails or only transactional?
- Transactional emails (confirmation, reset, notifications) using the API or SDK.
- Marketing emails via the Broadcast feature and Audiences.
How do I manage newsletter subscribers in Resend?
How do I manage newsletter subscribers in Resend?
Can I set up double opt-in for newsletters?
Can I set up double opt-in for newsletters?
Can I schedule or automate email flows in Resend?
Can I schedule or automate email flows in Resend?
How do I connect Resend to Supabase Auth?
How do I connect Resend to Supabase Auth?
- Authenticate with your Supabase project.
- Provide a domain and sender name.
- Resend automatically configures your Supabase auth emails to use your Resend account.
How does Resend handle unsubscribes?
How does Resend handle unsubscribes?
- You must include an unsubscribe link in broadcast emails.
- When a user unsubscribes, they are removed from the selected audience.
- This is required for email compliance (e.g., CAN-SPAM, GDPR).
